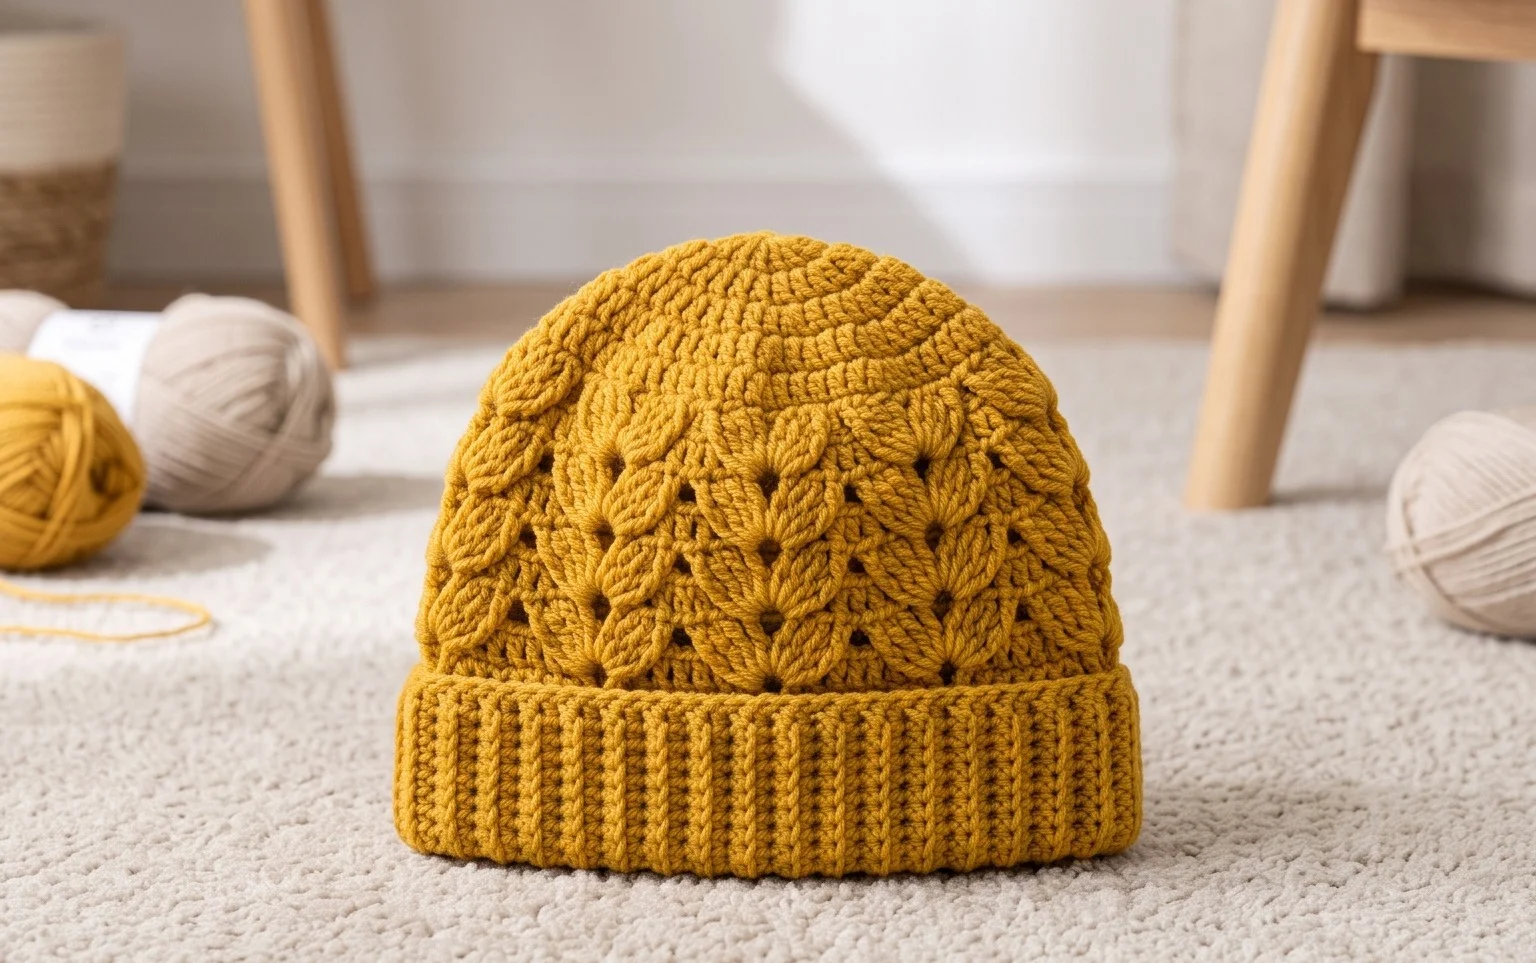
Hello fellow yarn lovers! Get ready to add a touch of nature’s beauty to your wardrobe with these absolutely stunning Crochet 3D Leaf Stitch Beanie Hat Free Patterns! Imagine a cozy, wonderfully textured beanie, where every stitch seems to unfurl into a delicate, three-dimensional leaf. It’s like wearing a little piece of autumn foliage right on your head, and the effect is truly enchanting!
These patterns are a dream come true, perfect for everyone from crochet beginners eager to try a new technique to experienced crafters looking for a delightful project. They also make incredibly thoughtful, handmade gifts that are sure to be cherished. Plus, who says hats are just for heads? These gorgeous leaf beanies can even add a unique, crafty charm as decorative pieces!
In this article, we’ll guide you step-by-step through creating your very own leafy masterpiece. You’ll learn how to master the beautiful 3D leaf stitch, understand how to work it into a beanie shape, and get access to fantastic free patterns and helpful video tutorials. Let’s get our hooks ready and start creating something truly special!
Unlock Your Inner Gardener: Crafting the Enchanting 3D Leaf Stitch Beanie
There’s something incredibly satisfying about creating a piece of crochet that not only keeps you warm but also brings a touch of nature’s beauty into your wardrobe. The 3D Leaf Stitch Beanie is a perfect example of this magic. This free pattern, often accompanied by helpful video tutorials, allows you to craft a stunning hat adorned with beautifully sculpted leaves that seem to sprout right from the fabric. Whether you’re a seasoned crocheter looking for a new texture to explore or a curious beginner eager to tackle a visually impressive project, this beanie is a delightful journey. Let’s dive into the wonderful world of the 3D Leaf Stitch Beanie!
The Perfect Palette: Yarn and Hook Recommendations
Choosing the right yarn and hook is crucial for bringing your 3D Leaf Stitch Beanie to life. The beauty of this stitch lies in its ability to showcase texture, so opting for yarns that have a good stitch definition is key.
Yarn:
Medium Weight (Worsted Weight) Yarn: This is the most common and highly recommended weight for this pattern. It strikes a perfect balance, providing enough body for the leaves to stand out without being overly stiff or too flimsy. Acrylic yarns are a fantastic choice for beginners as they are affordable, durable, and come in an endless array of colors. Look for brands like Red Heart Super Saver, Lion Brand Vanna’s Choice, or Bernat Super Value.
Natural Fibers: For a more luxurious feel and excellent drape, consider wool, cotton, or blends. Merino wool offers warmth and softness, while cotton provides breathability and a lovely matte finish. Be mindful that some natural fibers might be more prone to splitting, so a smoother twist yarn is generally preferable.
Color Choices: This is where your creativity truly blossoms!
Monochromatic Magic: Using a single color will emphasize the intricate stitch work and create a sophisticated, elegant look.
Two-Tone Delight: Alternate between two complementary colors for a subtle yet striking effect. Imagine a forest green base with lighter green or even cream-colored leaves.
Variegated Wonders: A variegated yarn can add instant interest, with the colors changing as you crochet, creating a unique and beautiful outcome for every hat.
Ombre Dreams: A gradient yarn that transitions through shades of one or more colors can be absolutely breathtaking.
Hook:
Recommended Size: Typically, a 5.0mm (H/8) crochet hook is recommended for worsted weight yarn. However, this can vary slightly depending on your individual tension and the specific yarn you choose.
Gauge Swatch is Your Best Friend: Before you even begin your beanie, it’s highly advisable to crochet a small gauge swatch using your chosen yarn and hook. This is a small square worked in the same stitches as the main pattern. Measure your swatch to ensure it matches the gauge specified in the pattern. If your swatch is too small, try a larger hook; if it’s too large, try a smaller hook. Getting the gauge right ensures your hat will be the correct size.
Mastering the Magic: Stitch Techniques Used
The 3D Leaf Stitch Beanie is characterized by its stunning textured stitch, which gives the illusion of delicate leaves unfurling. While the pattern will guide you through the specifics, understanding the fundamental stitches will make the process smoother.
Single Crochet (sc): This is the most basic crochet stitch and forms the foundation of many crochet projects, including the base of this beanie.
Double Crochet (dc): A taller stitch that creates more fabric and is often used in conjunction with other stitches to build texture.
Treble Crochet (tc) or Triple Crochet: Even taller than double crochet, these stitches are essential for creating the “stem” or post of the 3D leaf.
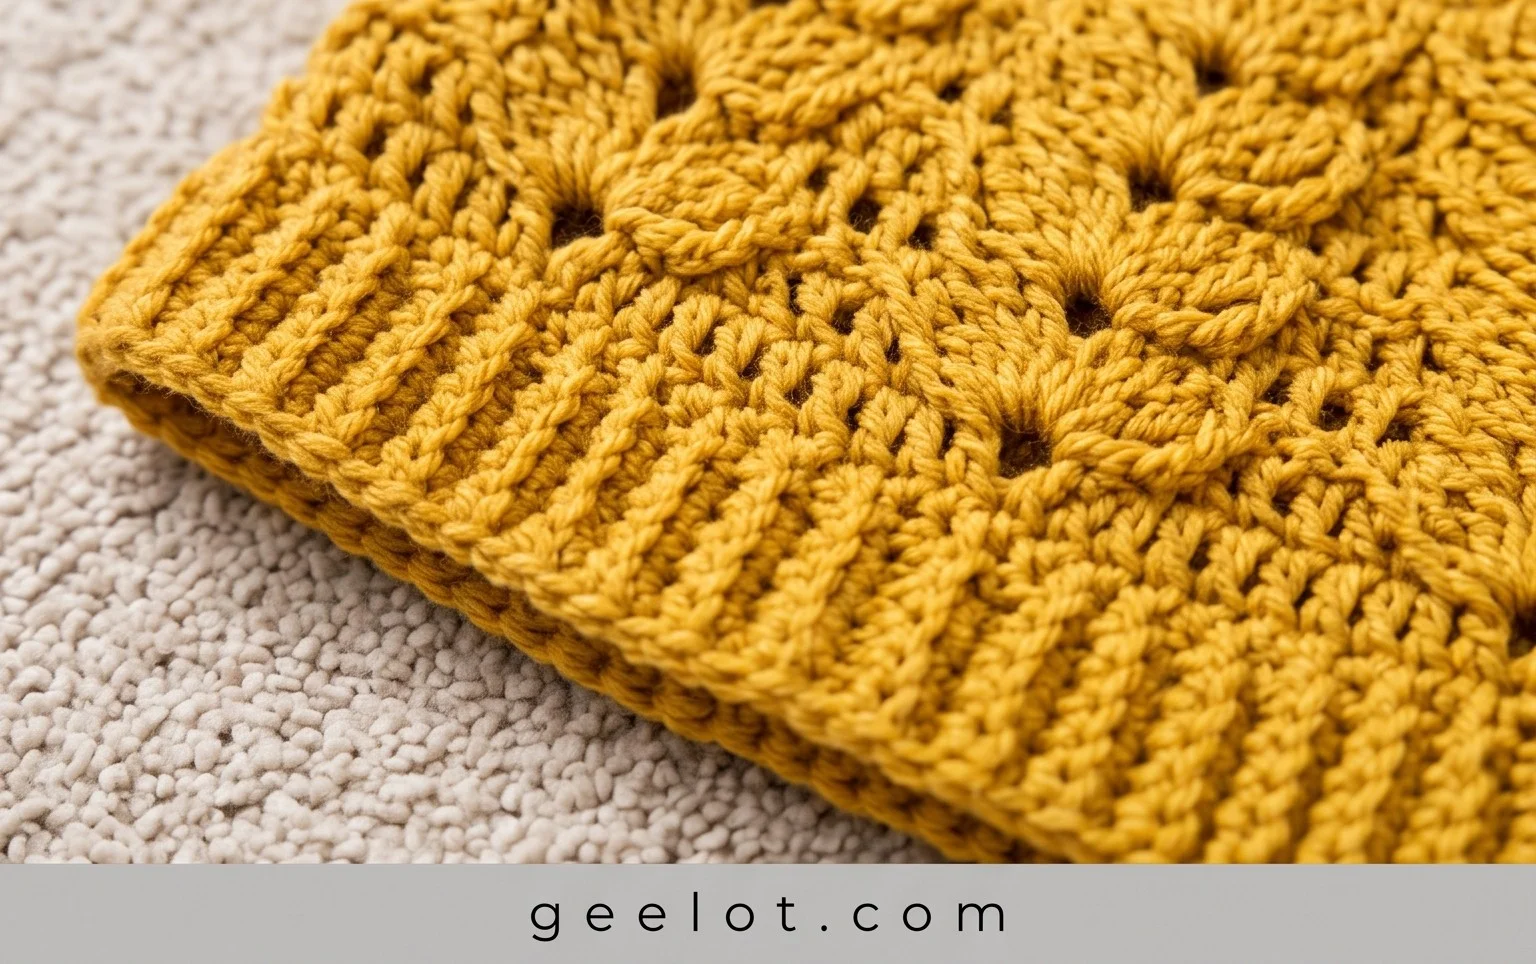
The 3D Leaf Stitch Itself: This is where the magic happens! While the exact construction can vary slightly between patterns, it typically involves working stitches around a post from previous rounds, creating a raised, dimensional element. This often involves a combination of treble crochets or longer stitches worked into the spaces of a previous row, with the yarn “wrapped” around the stitch post to create the leafy shape.
Working in the Round: This beanie is usually worked in continuous rounds, meaning you’ll join each round with a slip stitch and then begin the next round without turning your work. This creates a seamless, tubular fabric.
Tips for the Aspiring Leaf Artisan (Beginner Friendly Advice)
Don’t let the “3D” intimidate you! The 3D Leaf Stitch Beanie is achievable for beginners with a little patience and the right approach.
Watch the Video Tutorial: If a video tutorial is provided with the pattern, use it! Seeing the stitches worked in real-time is invaluable, especially for understanding the placement and construction of the 3D leaf stitch. Pause, rewind, and rewatch as many times as you need.
Master the Basic Stitches First: If you’re brand new to crochet, practice single crochet, double crochet, and slip stitches on a small swatch before diving into the beanie.
Read the Pattern Carefully: Even with a video, read through the written pattern before you start. Familiarize yourself with the abbreviations and the general flow of the instructions.
Use Stitch Markers: These are your best friends for keeping track of where rounds begin and end, and also for marking specific stitches if the pattern calls for it.
Don’t Pull Too Tight: For the 3D leaf stitch to pop, you need to have a bit of looseness when working the longer stitches that form the leaf. Avoid crocheting too tightly, as this can make it difficult to work the stitches correctly and can distort the shape.
Embrace Imperfection: Your first few leaves might not be perfectly symmetrical, and that’s okay! Crochet is a journey, and with practice, your stitches will become more consistent. Every hat you make will be a unique creation.
Your Personal Touch: Customizing Your Beanie
The beauty of a free crochet pattern lies in its adaptability. You can easily make the 3D Leaf Stitch Beanie your own.
Sizes:
Adjusting for Fit: Most patterns will provide instructions for various sizes (e.g., baby, child, adult small, adult medium, adult large). If you need to adjust for a specific head circumference, you can often do so by:
Changing the Hook Size: As mentioned with gauge, a larger hook will create a larger hat, and a smaller hook will create a smaller hat.
Adding or Subtracting Rounds: To make the hat taller, simply add more rounds of the main stitch pattern or the leaf stitch pattern before you start decreasing for the crown. To make it shorter, work fewer rounds.
Adjusting the Brim: The brim can often be made wider or narrower by simply adding or removing rounds of ribbing or single crochet.
Colors:
Color Blocking: Dedicate specific sections of the hat to different colors. For example, a solid colored brim, then a few rounds of solid color before transitioning into the leaf stitch in a contrasting color.
Ombre Effect: Purchase a gradient yarn that transitions through your desired colors. This will create a stunning, effortless ombre effect.
Highlighting the Leaves: Use a contrasting color for the leaf stitch rounds and a solid color for the base rounds. This will make the 3D leaves truly pop.
Adding a Pom-Pom: A contrasting or complementary colored pom-pom is a classic addition that adds a playful touch to any beanie.
Nurturing Your Creation: Care Instructions
Once your beautiful 3D Leaf Stitch Beanie is complete, you’ll want to keep it looking its best for years to come.
Washing: Most acrylic yarns can be machine washed on a gentle cycle with cool water and mild detergent. If you used wool or other natural fibers, hand washing in cool water with a wool wash or mild soap is recommended. Avoid harsh detergents and bleach.
Drying: Never put your crocheted items in a machine dryer! The heat can cause them to shrink, lose their shape, and even melt if it’s acrylic. Instead, gently squeeze out excess water (don’t wring!) and lay the beanie flat on a clean towel in a well-ventilated area to air dry. Reshape it while it’s still damp.
Storage: Store your beanie folded in a drawer or on a shelf. Avoid hanging it for extended periods, as this can stretch the yarn over time. If you’re storing it for the summer, consider placing it in a breathable garment bag or a pillowcase to protect it from dust and moths.
Beyond the Beanie: Inspiring Project Ideas
The 3D Leaf Stitch is so versatile that once you’ve mastered it for a beanie, you’ll want to explore other creative possibilities.
Scarves and Cowls: Imagine a long, flowing scarf or a cozy infinity cowl worked entirely in the 3D leaf stitch. This would be a showstopper!
Mittens and Gloves: Create a matching set with a beanie, or design standalone mittens with the textured leaf pattern on the back of the hand.
Home Decor: This stitch would be stunning on cushion covers, placemats, or even a textured throw blanket.
Bags and Totes: A crocheted bag with the 3D leaf stitch would be both stylish and functional.
Amigurumi Accents: Use the 3D leaf stitch to create decorative elements for your amigurumi creatures.
The 3D Leaf Stitch Beanie is more than just a hat; it’s an opportunity to connect with your creative side, learn a beautiful new stitch, and craft something truly special. So, grab your hook, pick your favorite yarn, and get ready to cultivate a wardrobe full of handcrafted charm!
I hope this free crochet pattern has inspired you to create your own beautiful 3D Leaf Stitch Beanie! This cozy and stylish hat is such a rewarding project, and I truly encourage you to give it a try. Once you’ve finished your masterpiece, we’d absolutely love to see it! Tag us on social media using #[YourBrandHashtag] so we can all admire your handiwork.
Feeling adventurous? Consider experimenting with different yarn weights for a chunkier or lighter beanie, or perhaps a pop of contrasting color for the leaves. Don’t forget to browse our other free crochet patterns for your next delightful creation. Happy crocheting!